当前位置:首页 > 经验笔记 > VUE > 正文内容

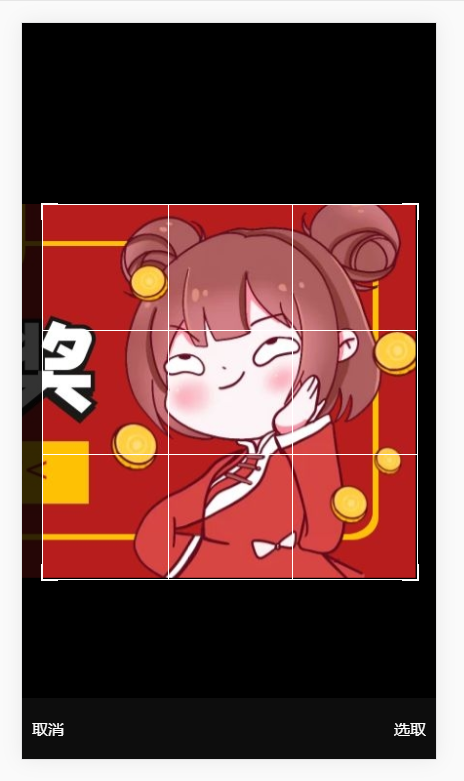
基于Vue的移动端图片裁剪组件(vue-imgcut)

han32685年前 (2021-04-15)VUE3763

安装:

npm install vue-imgcut –save

使用代码:

<template>
    <div>
        <imgCut ref="Uppicinput" @callback="callback" :width="200" :height="200">
            <div>上传按钮</div>
        </imgCut>
        <img :src="imgsrc">
    </div>
</template>


<script>
import { imgCut } from 'vue-imgcut'
export default {
    components: {
        imgCut,
    },
    data() {
        return {
            imgsrc: '',
        }
    },
    methods: {
        callback(img) {
            this.imgsrc = img
            console.log(img)
        },
    },
}
</script>

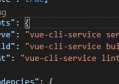
<style scoped lang="less">
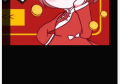
</style>

使用展示:

image.png


扫描二维码推送至手机访问。

版权声明:本文由瀚文博客发布,如需转载请注明出处。

本文链接:https://www.hanwenblog.com/post/52.html

分享给朋友:

相关文章

vue引入本地json数据文件

    data() {         return {...

在vue中实现element-ui的el-dialog弹框拖拽

1.在assets/js/文件夹下新建directives.js 文件:import Vue from 'vue' // v-dialog...

基于Vue的移动端图片裁剪组件(Clipic)可自动压缩

基于Vue的移动端图片裁剪组件(Clipic)可自动压缩

安装:Bashnpm install --save clipic使用代码:Markup<template>     ...

vue 去除前后空格trim的使用方法

一、使用trim修饰符<input v-model.trim = "massage" >二、使用filter过去属性 <...

vue跳转时打开新窗口的方法

    1、<vue-link>标签实现新窗口打开    官方文档中说 v-link 指令被 <rou...